Thinking about updating the exterior of your home? A Guide to Applying Stucco Over Brick: What You Need to Know could be the solution you’re searching for. Homeowners often find it challenging to refresh old brick walls, but applying stucco can give your home a modern, clean look. This blog will walk you through the essential steps for a successful stucco application, ensuring your project is a lasting investment.
Essential Tips from A Guide to Applying Stucco Over Brick
Applying stucco over brick can be a great way to transform your home’s appearance while protecting it from the elements. Below, we’ll walk you through the process, tools required, and tips for achieving the best results.
1) Preparing the Brick Surface
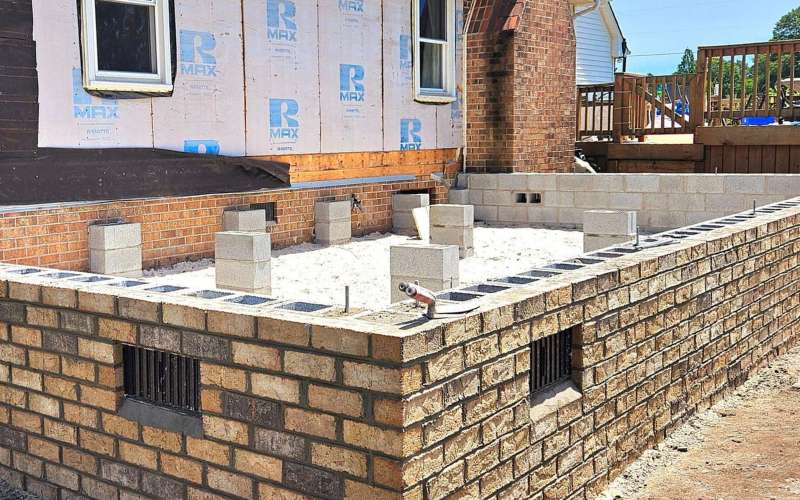
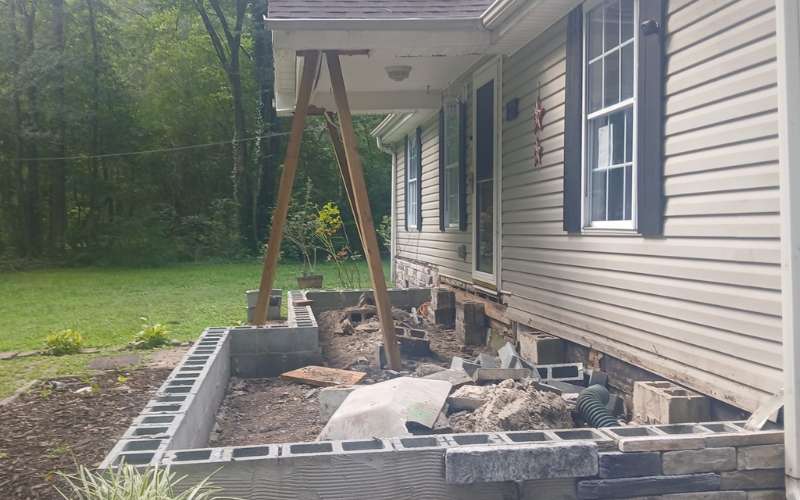
Before starting, the first step is preparation. Ensuring the brick surface is clean and free of debris is crucial for a successful application. Use a pressure washer to remove dirt, grime, and loose mortar. If there are any cracks or damaged areas in the brick, patch them with mortar or a repair compound. This ensures the stucco adheres properly and creates a smooth finish.
- Tip: Scrub the brick with a wire brush after washing to remove any remaining dust.
- Key Transition: Once the surface is clean, move on to applying a bonding agent to help the stucco stick.
2) Applying the Bonding Agent
A bonding agent acts like glue for the stucco, helping it adhere to the brick surface. Using a paintbrush or roller, apply the bonding agent evenly over the brick. Be sure to coat every inch to avoid weak spots in the final stucco layer. Allow the bonding agent to dry for the recommended time as stated by the manufacturer.
- Transition Tip: After the bonding agent dries, the next step is mixing and applying the stucco.
3) Mixing and Applying the Scratch Coat
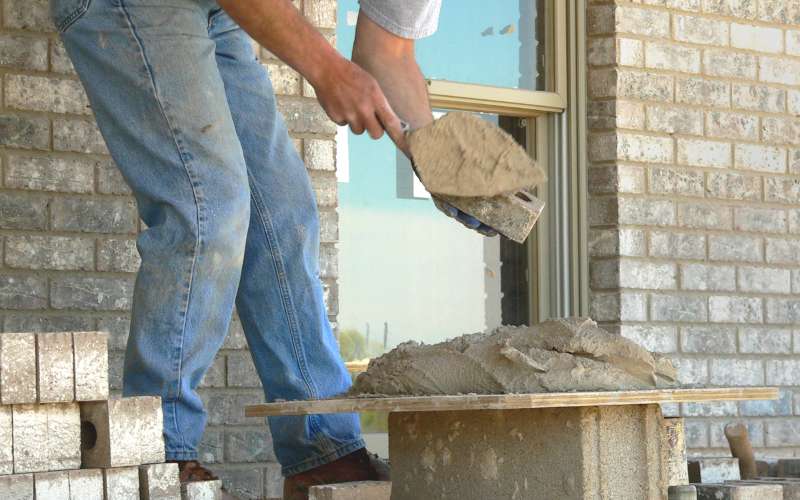
The first layer of stucco, called the scratch coat, is a vital part of the process. To mix the stucco, combine sand, cement, and water to create a thick paste. Using a trowel, apply the scratch coat about 1/4 inch thick across the entire surface. Work quickly to ensure an even layer before it begins to harden. As the name suggests, you will need to scratch lines into the stucco before it dries completely. This creates texture, allowing the second layer of stucco to bond.
- Pro Tip: Use a notched trowel or a wire brush to create the scratch marks.
- Important Transition: After the scratch coat sets, move forward with the brown coat.
4) Applying the Brown Coat
The second layer of stucco, known as the brown coat, helps level the surface and adds strength. Apply this layer about 3/8 inch thick. Ensure you smooth it evenly using a straight edge or trowel. This layer needs time to cure properly, which usually takes about a week. During this period, mist the surface with water daily to prevent cracks from forming as it dries.
- Tip: The brown coat sets the foundation for the final stucco layer, known as the finish coat.
- Next Step: Once cured, it’s time to apply the final layer of stucco.
5) Applying the Finish Coat
The last step is applying the finish coat, which is where you can get creative. The finish coat can be smooth or textured, depending on the look you want. Apply this layer thinly, around 1/8 inch thick, using a trowel. For a smooth finish, use a sponge float to level the surface. If you prefer a textured finish, use a brush, trowel, or other tools to create the desired pattern.
- Pro Tip: Add color pigments to the finish coat for a long-lasting, vibrant look.
- Final Transition: With the finish coat applied, your stucco project is complete.
6) Maintenance and Care
Stucco is known for its durability, but like any exterior material, it requires regular maintenance to stay in good condition. Inspect your stucco annually for cracks or damage. If you notice any issues, patch them promptly to avoid water infiltration, which can weaken the structure.
- Key Tip: Applying a water-repellent sealant every few years can help protect your stucco from the elements.
- Closing Transition: Now that you know how to apply stucco over brick, you’re ready to give your home a fresh, new look.
Contact Us for Expert Stucco Application
If you’re ready to enhance the look of your home with stucco over brick, let our experienced team help you get it done right. From preparation to the final finish, we ensure quality at every step. Don’t wait—transform your home’s exterior today! Contact us for a consultation, and let’s bring your vision to life.