Prepping drywall for painting: Tips from masonry experts is essential for achieving a flawless finish. Have you ever struggled with uneven paint or poor coverage? Don’t worry, you’re not alone. Many homeowners face this issue when painting over unprepared drywall. Proper preparation ensures your walls look professional and last longer. In this post, we’ll share expert tips to help you master the art of prepping drywall for painting and make the process smoother and more efficient.
Expert Tips for Properly Prepping Drywall Before Painting
When it comes to prepping drywall for painting, professionals know that proper preparation is key to achieving a smooth and long-lasting finish. Whether you’re painting a new wall or refreshing an old one, these expert tips will help you get the job done right.
Why Prepping Drywall is Crucial
Before picking up that paintbrush, you might wonder why prepping drywall is such an important step. Skipping this process can lead to uneven surfaces, poor adhesion, and visible imperfections after painting. Proper preparation creates a clean, smooth surface for the paint to adhere to, resulting in a professional-looking finish that lasts for years. Think of drywall prep as building the foundation for a successful painting project.
Essential Tools for Drywall Prep
To properly prep drywall, having the right tools on hand is a must. You’ll need a putty knife, drywall compound, sandpaper, and a sanding block. Additionally, a damp sponge can help with dust removal. These basic items ensure you can effectively fill in any imperfections, smooth rough surfaces, and prime the wall before painting. Investing in quality tools will make the prep work easier and faster.
Steps to Prepping Drywall for Painting
1. Inspect the Drywall:
Before anything else, carefully inspect the drywall for imperfections. Look for cracks, dents, holes, or uneven areas that need attention. These must be addressed to prevent them from showing through the paint.
2. Patch and Repair:
Use a putty knife and drywall compound to fill in small holes, dents, or cracks. For larger holes, consider using a drywall patch. Once the compound has dried, sand the area smooth with fine-grit sandpaper to blend it into the wall.
3. Sand the Surface:
Sanding is a crucial part of the preparation. Sanding the entire surface ensures any bumps or raised areas are smoothed out, creating a perfect canvas for your paint. Be sure to wear a mask and goggles to avoid inhaling drywall dust.
4. Clean the Wall:
After sanding, there will likely be a lot of dust on the wall. Use a damp sponge or cloth to gently wipe the surface and remove all dust and debris. A clean wall allows the paint to adhere properly.
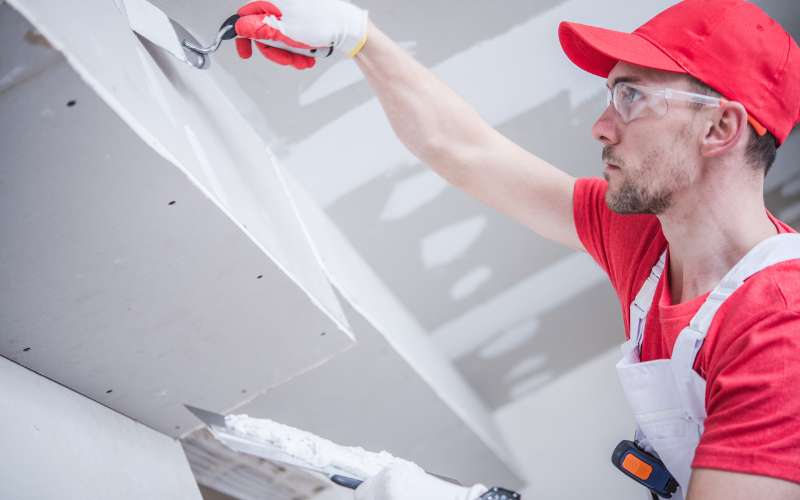
5. Apply Primer:
Applying primer is essential, especially on new drywall or if you’re covering dark paint. Primer helps the paint stick to the drywall and evens out the surface, ensuring a uniform finish. Let the primer dry completely before moving on to the painting stage.
Common Mistakes to Avoid
1. Skipping the Sanding Step:
Many DIYers skip sanding because it’s messy and time-consuming. However, this step is essential for achieving a smooth finish. Always sand after patching and before priming.
2. Not Cleaning the Dust:
Another common mistake is forgetting to clean the wall after sanding. Paint won’t adhere well to a dusty surface, so always wipe the wall clean.
3. Neglecting Primer:
Applying paint without priming the wall first can result in a blotchy and uneven appearance. Primer helps the paint stick better and evens out the surface, especially when covering stains or dark colors.
Expert Tip: Patience is Key
Prepping drywall for painting can take time, but patience pays off. Rushing through the process can lead to visible imperfections and the need for rework. Take your time with each step—inspecting, repairing, sanding, and priming—to ensure the best results.
When to Call in the Experts
While many homeowners can handle drywall prep on their own, there are times when it’s best to call in professionals. If your drywall has extensive damage or you’re unsure about the process, hiring a masonry expert can save you time and ensure the job is done correctly. Professionals have the experience and tools to tackle even the toughest drywall issues.
Contact Us for Professional Drywall Preparation and Painting Services
Prepping drywall for painting: Tips from masonry experts can transform your next painting project into a success. By following these steps, you’ll achieve a smooth, professional finish that lasts. If you’d rather leave it to the professionals, we’re here to help. Contact us today for expert drywall preparation and painting services, and let’s make your walls look their best. Call now to schedule your consultation!